
 by
by 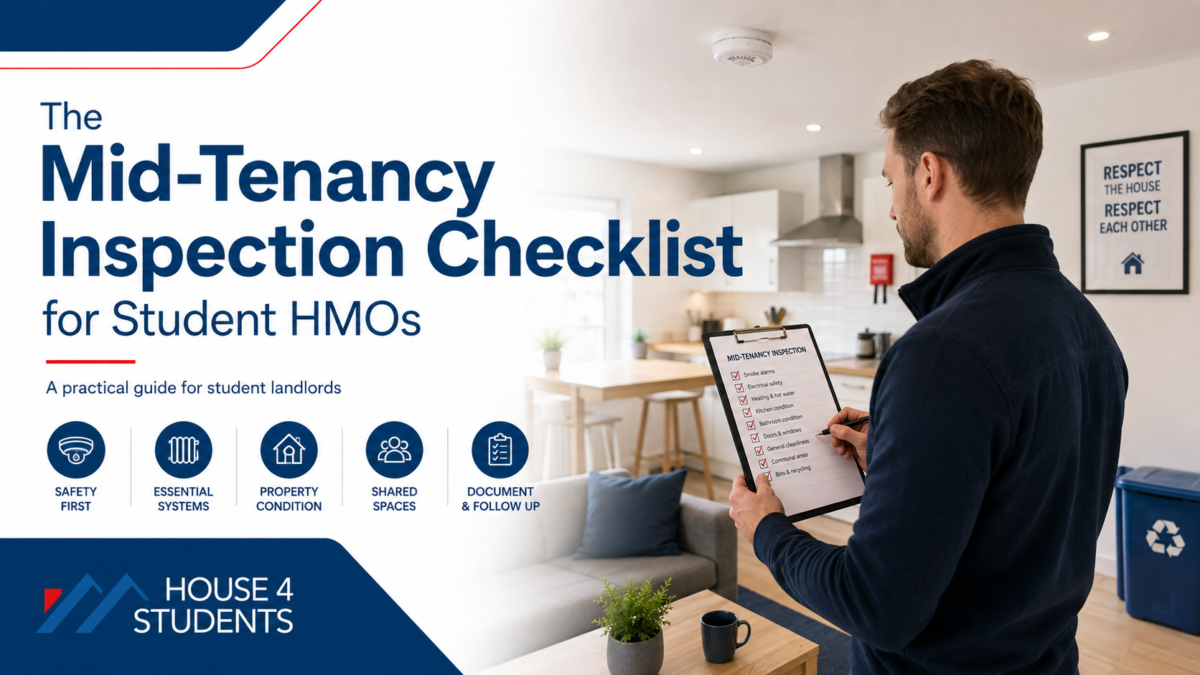
A student HMO can change considerably between move-in day and the end of the academic year.
A small leak can become damp. A loose door handle can become a broken lock. A blocked extractor fan can contribute to condensation. Meanwhile, problems students consider too minor to report may quietly become expensive repairs.
That is why a mid-tenancy inspection checklist for student HMOs is so useful.
A good inspection is not about catching tenants out. It is an opportunity to identify maintenance issues early, check important safety measures, document the condition of the property and ask tenants whether anything needs attention.
For student landlords, that can mean fewer emergency repairs, fewer complaints and a much smoother end of tenancy.
If you manage student accommodation, the wider House4Students landlord blog also contains practical guidance covering student tenants, property management and HMO maintenance.
Why Mid-Tenancy Inspections Matter
Student HMOs experience relatively intensive use.
Several people may be using the kitchen, bathrooms, heating, appliances, doors and communal areas every day. Even well-behaved tenants can create considerably more everyday wear than a smaller household.
Routine inspections therefore help landlords distinguish between:
- Normal wear and tear
- Minor maintenance requirements
- Tenant-reported problems
- Potential safety hazards
- Damage requiring further investigation
- Problems that could become expensive if ignored
This is particularly important because many of the issues students complain about most — such as damp, heating problems and slow repairs — can be spotted during routine property checks. We explore those problems further in our guide to student housing complaints and how landlords can prevent them.
Regular inspections also support preventative maintenance. As explained in our guide to the real cost of running a student HMO, fixing small problems early can be considerably cheaper than waiting for them to become emergencies.
Before the Inspection: Arrange Access Properly
Do not simply arrive at the property unexpectedly.
Government guidance states that landlords should give tenants at least 24 hours’ notice before visiting to inspect the property or carry out repairs, with visits taking place at a reasonable time unless there is an emergency.
In practice, giving more notice where possible can make the process easier with student tenants.
Send a written message explaining:
- The date of the inspection
- The approximate time
- Why the inspection is being carried out
- Which areas will be checked
- Whether bedrooms need to be accessed
- How long you expect the visit to take
Remember that providing notice should not be treated as permission to force entry where tenants have refused access. Access should normally be agreed with the occupants unless there is a genuine emergency or another lawful basis for entry.
A professional approach to inspections is one of the habits covered in our guide to what makes a great student landlord in 2026.
The Mid-Tenancy Inspection Checklist for Student HMOs
1. Check for Damp, Mould and Condensation
Start with one of the most common problems in student accommodation.
Check:
- Around bedroom windows
- External walls
- Behind furniture where practical
- Bathroom ceilings
- Shower areas
- Kitchen walls
- Window reveals
- Corners of bedrooms
- Areas around leaking pipes
Look for:
- Black mould
- Damp patches
- Peeling paint
- Excessive condensation
- Musty smells
- Water staining
Do not automatically assume mould is caused by tenants failing to open windows.
Investigate whether there could be an underlying property problem such as poor ventilation, inadequate heating, leaks, defective guttering, insulation problems or water penetration.
Serious damp and mould can constitute a housing hazard, making early investigation particularly important. Government housing reforms in 2026 have also strengthened the focus on serious hazards within privately rented homes.
2. Test Smoke and Carbon Monoxide Alarms
Check that required alarms are present and functioning.
For private rented properties in England, landlords must provide smoke alarms on every storey used as living accommodation and carbon monoxide alarms in rooms containing specified fixed combustion appliances. Faulty required alarms must also be repaired or replaced once the landlord has been informed and found them faulty.
However, HMOs can have additional fire-safety requirements depending on their layout, size and local licensing conditions.
Check:
- Smoke alarms
- Heat alarms where installed
- Carbon monoxide alarms
- Interlinked alarm systems
- Alarm control panels where applicable
- Signs of damaged or covered detectors
Never rely only on the basic smoke-alarm requirements when managing an HMO. Check the conditions attached to your HMO licence and your local council’s fire-safety standards.
3. Inspect Fire Doors and Escape Routes
Fire safety deserves particular attention in shared accommodation.
Walk through the property’s escape route and check that it is clear.
Look at:
- Fire doors
- Door closers
- Door frames
- Intumescent strips where fitted
- Smoke seals
- Locks
- Handles
- Hallways
- Staircases
- Final exit doors
Watch for furniture, bicycles, rubbish or other objects blocking communal escape routes.
HMO managers have legal responsibilities for maintaining common areas and keeping them in safe condition.
If you are unsure whether the fire-safety measures remain suitable, obtain advice from a competent fire-safety professional or your local authority.
4. Check Heating and Hot Water
Do not wait until the coldest week of the year to discover that the boiler is struggling.
Ask tenants:
- Is the heating working properly?
- Are all radiators warming up?
- Is hot water reliable?
- Are thermostats working?
- Have there been pressure problems?
- Are any unusual noises coming from the boiler?
Look for visible leaks around:
- Radiators
- Boilers
- Hot-water cylinders
- Pipework
If gas appliances are provided, landlords have separate statutory gas-safety duties, including annual checks by a Gas Safe registered engineer.
A routine inspection does not replace the annual gas safety check.
5. Inspect Bathrooms
Bathrooms can produce expensive problems remarkably quickly.
Check:
- Showers
- Baths
- Toilets
- Basins
- Taps
- Sealant
- Grouting
- Extractor fans
- Flooring
- Ceilings
- Pipework
Look carefully for water escaping around shower trays and baths.
A small gap in silicone sealant may cost very little to repair today but could eventually lead to damaged flooring, ceilings or timber.
Confirm that extractor fans are working properly and have not been switched off, blocked or covered.
6. Inspect the Kitchen
The kitchen receives some of the heaviest use in most student HMOs.
Check:
- Oven and hob
- Extractor
- Fridge/freezer
- Washing machine
- Dishwasher where supplied
- Sinks
- Taps
- Cupboard hinges
- Worktops
- Flooring
- Electrical sockets
- Visible appliance cables
Look underneath the sink for leaks.
Also check whether excessive grease, rubbish or food waste could create hygiene or pest problems.
The purpose is not to criticise normal student living. Concentrate on conditions that could damage the property, create a hazard or require maintenance.
7. Look for Electrical Warning Signs
A mid-tenancy inspection is not an electrical safety inspection, but you can still look for obvious warning signs.
These include:
- Broken sockets
- Loose switches
- Scorch marks
- Damaged plugs
- Exposed cables
- Damaged light fittings
- Persistent tripping reported by tenants
Landlords in England must generally have the fixed electrical installation inspected and tested by a qualified person at least every five years under the Electrical Safety Standards regulations.
If you notice anything concerning, arrange for a suitably qualified electrician to investigate.
8. Check Bedrooms
Where access has been properly arranged, inspect bedrooms for maintenance problems.
Pay attention to:
- Windows
- Locks
- Walls
- Ceilings
- Flooring
- Furniture supplied by the landlord
- Radiators
- Electrical fittings
- Damp or mould
- Signs of leaks
Avoid treating the visit like an investigation into a tenant’s personal life.
You are checking the condition of the property, not judging how someone chooses to organise their bedroom.
9. Inspect Communal Areas
Shared spaces are particularly important in an HMO because landlords or managers have specific responsibilities relating to common areas.
Check:
- Hallways
- Stairs
- Banisters
- Flooring
- Lighting
- Doors
- Windows
- Communal furniture
- Utility areas
The Management of Houses in Multiple Occupation Regulations require managers to maintain common parts, fixtures, fittings and appliances in good repair and safe working condition.
Deal with loose stair carpets, defective handrails and broken lighting promptly rather than leaving them until the end of the tenancy.
10. Check Windows, Doors and Security
Students regularly rank safety as an important feature when choosing accommodation.
Check:
- External door locks
- Bedroom locks where applicable
- Window locks
- Door handles
- Hinges
- Frames
- Damaged glazing
- Gates and external access points
Ask tenants whether they have experienced any security problems.
This also links closely with what students actually value in accommodation. Our guide to what students look for when renting a student house in 2026 explains why safety, warmth and reliable basics often matter more than expensive décor.
11. Inspect Outside the Property
Do not stop at the front door.
Check:
- Gutters and downpipes
- Roof condition visible from ground level
- Drains
- Boundary fences
- Gates
- External lighting
- Paths
- Gardens
- Bin storage
- Walls
- Signs of water penetration
Blocked gutters and damaged drainage can become damp problems inside the property.
If your tenants are responsible for basic garden maintenance, make sure expectations are reasonable and consistent with the tenancy agreement.
12. Ask About Repairs That Have Not Been Reported
One of the most useful parts of any inspection is simply asking:
“Is there anything in the house that isn’t working properly?”
Students sometimes tolerate problems rather than reporting them.
You may discover:
- A radiator that has stopped working
- A dripping tap
- A sticking door
- A slow drain
- An extractor fan that no longer works
- A washing machine fault
- A window that will not close properly
Giving tenants an easy opportunity to report problems can prevent small defects becoming bigger ones.
13. Compare the Condition With Your Inventory
Your original inventory is useful during mid-tenancy checks.
You are not carrying out the final checkout, but you can identify significant changes.
Where appropriate, record:
- New damage
- Missing landlord furniture
- Significant deterioration
- Maintenance issues
- Repairs completed since move-in
Take clear dated photographs where genuinely necessary, while respecting tenants’ privacy and avoiding unnecessary photographs of personal belongings.
Good evidence becomes particularly valuable if there is later disagreement about damage. Our student deposit dispute guide explains why inventories, photographs and clear documentation can make such a difference.
What Should Happen After the Inspection?
The inspection is only useful if something happens afterwards.
Create a simple action list.
Urgent
Deal immediately with issues involving:
- Serious electrical concerns
- Gas concerns
- Major leaks
- Significant fire-safety defects
- Dangerous structural problems
- Serious damp or mould
- Loss of essential heating or hot water
Soon
Schedule items such as:
- Minor leaks
- Broken extractor fans
- Damaged furniture
- Loose handles
- Failed lighting
- Damaged sealant
- Minor plumbing defects
Monitor
Record lower-priority issues that may require attention later.
For example:
- Cosmetic wear
- Minor marks
- Older flooring
- Furniture approaching replacement
- Decorating requirements
Keep photographs, contractor invoices and records of any remedial work alongside the inspection report.
How Often Should You Inspect a Student HMO?
There is no need to inspect constantly.
Inspections should be proportionate, reasonable and respectful of tenants’ right to enjoy their home.
For many student landlords, one or two appropriately timed inspections during the academic year may provide useful oversight, although the right schedule depends on the property, tenancy arrangements, previous maintenance issues and any conditions contained within the HMO licence.
You might, for example, schedule an inspection:
Autumn: After students have settled into the property.
Winter: To identify heating, condensation and damp problems.
Spring: To prepare repairs ahead of summer changeover.
House4Students also has a dedicated student HMO spring checklist covering the work landlords should consider as the academic year moves towards summer.
The Biggest Mistake: Treating an Inspection Like a Damage Hunt
The wrong approach creates unnecessary tension.
Walking through the house looking for reasons to blame students is unlikely to improve the landlord-tenant relationship.
Instead, think of a mid-tenancy inspection as a property health check.
You are asking:
- Is the building safe?
- Is everything working?
- Are small repairs developing?
- Is damp appearing?
- Are the tenants experiencing problems?
- Is anything likely to cost considerably more if ignored?
That mindset produces better results.
Good student landlords maintain properties proactively rather than waiting until tenants become frustrated enough to complain.
Practical Mid-Tenancy HMO Checklist
Before leaving the property, confirm that you have checked:
- Damp, mould and condensation
- Smoke and carbon monoxide alarms
- HMO fire-safety equipment
- Fire doors
- Escape routes
- Boiler and heating
- Hot water
- Bathrooms
- Kitchen
- Extractor fans
- Electrical warning signs
- Bedrooms
- Communal areas
- Windows and doors
- Locks and security
- Landlord-supplied furniture
- Appliances
- Gardens and external areas
- Gutters and drainage
- Tenant-reported maintenance problems
- Photographic records where appropriate
- Repairs requiring follow-up
Final Word
A mid-tenancy inspection checklist for student HMOs should protect the property without making tenants feel that their landlord is constantly watching them.
The best inspections are organised, respectful and focused on maintenance.
Give appropriate notice. Check safety equipment. Look for damp and leaks. Listen to tenants. Document genuine problems. Then act on what you find.
Small repairs dealt with today can prevent emergency callouts, deposit disagreements and major refurbishment costs later.
For more practical advice on managing student properties, browse the House4Students blog or explore House4Students for student accommodation and landlord resources.
References
- UK – Private renting: rights and responsibilities
- UK – Landlord safety responsibilities
- UK – Electrical Safety Standards guidance
- UK – Smoke and Carbon Monoxide Alarm Regulations guidance
- HSE – Landlords’ responsibilities for gas safety
- gov.uk – Management of Houses in Multiple Occupation (England) Regulations 2006
This article provides general information for landlords in England and is not legal advice. HMO licence conditions and local authority requirements can vary, so landlords should check the rules applicable to their property.

Join The Discussion