 by House4Students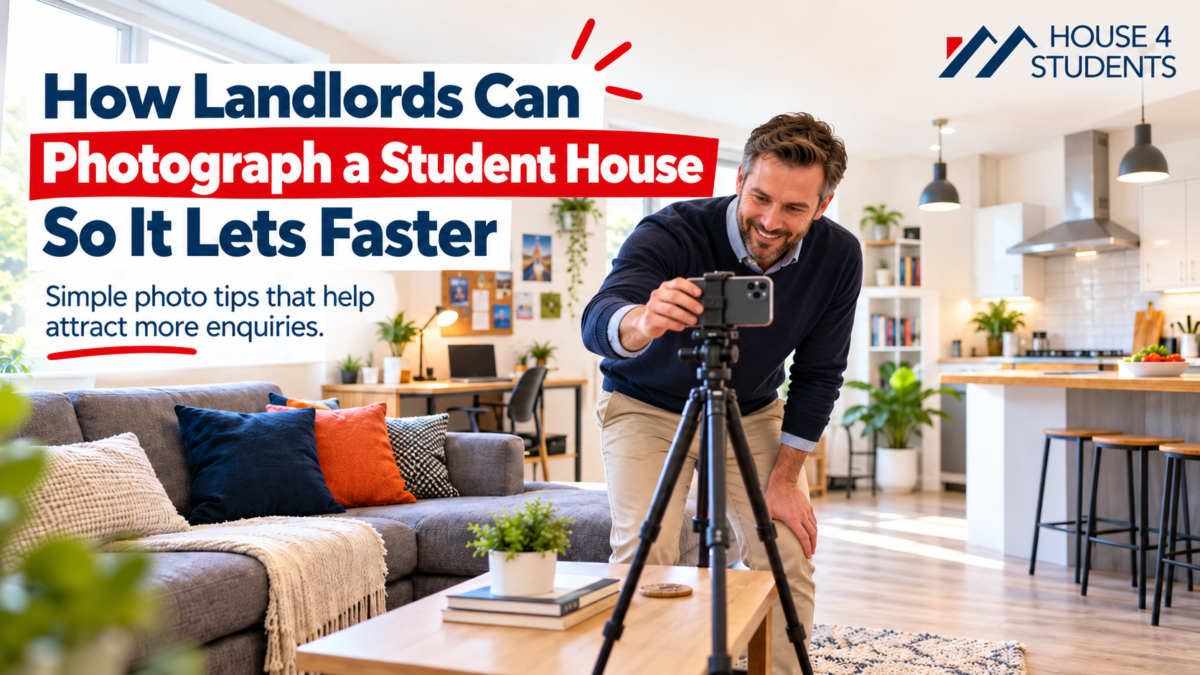
How to Photograph a Student House So It Lets Faster
Students often decide whether they like a house before they have read the full property description.
They see the first photograph.
Then the second.
Within seconds, they have either continued scrolling through the listing or moved on to the next property.
That makes student house photography far more important than many landlords realise.
You do not necessarily need a professional photographer, expensive camera equipment or a perfectly styled interior. What you do need are photographs that make the house look clean, bright, practical and honest.
Good photographs cannot rescue a poor property. But poor photographs can absolutely make a good property harder to let.
Here is how to photograph a student house so that your online listing has a better chance of turning browsers into enquiries.
Why Student House Photography Matters
Student property searches are increasingly digital.
Prospective tenants may compare dozens of houses before arranging even one viewing. At House4Students, students can already browse available houses and rooms online and filter properties according to the features that matter to them.
Your photographs therefore have an important job.
They need to answer the student’s first question:
“Can I imagine living here?”
Our guide to what students really look for when renting a student house explains that practical qualities such as location, affordability, reliable Wi-Fi, warmth and safety frequently matter more than expensive decorative finishes.
Your photographs should communicate those practical qualities rather than attempting to make an ordinary student HMO look like a luxury hotel.
1. Clean the House Before You Pick Up the Camera
Photography begins before the first photograph is taken.
A camera notices things we often stop noticing when we see a property regularly.
Before photographing the house, remove:
- Washing-up from the sink
- Cleaning products from worktops
- Bins and bin bags
- Loose cables
- Excess toiletries
- Laundry
- Paperwork
- Random boxes
- Maintenance equipment
- Clutter from desks and bedside tables
Then clean the obvious surfaces.
Pay particular attention to kitchens and bathrooms because dirty surfaces, stained sealant and clutter are especially noticeable in photographs.
If the property is between tenancies, this is an ideal time to photograph it.
Our student house summer preparation checklist covers the cleaning, repairs and checks worth completing before new occupants arrive.
The rule is simple:
Photograph the property when it looks the way you want tenants to keep it.
2. Open Curtains and Use Natural Light
Dark photographs make rooms feel smaller.
Before taking photographs:
- Open curtains fully
- Raise blinds
- Switch on appropriate lights
- Photograph during daylight
- Avoid shooting directly into very bright windows where possible
A bright but cloudy day can actually be excellent for interior photography because the light is softer and more even.
Avoid photographing at night unless there is a specific reason to showcase external lighting.
Natural-looking brightness usually works better than aggressive editing afterwards.
3. Keep Your Camera Straight
One of the quickest ways to make property photographs look amateur is tilted walls.
Door frames should appear vertical.
Kitchen units should appear level.
Windows should not look as though they are leaning towards each other.
Most modern smartphones include an on-screen grid. Turn it on and use vertical features such as doors, cabinets and window frames to keep the shot straight.
Photograph from approximately chest height rather than holding the phone above your head.
For most rooms, standing close to a doorway or corner gives the viewer a useful impression of the space.
4. Be Careful With Ultra-Wide Lenses
The 0.5x setting on a smartphone can make a tiny bedroom appear enormous.
That might attract a click.
It can also create disappointment when the student arrives for the viewing.
Use a wider lens when you genuinely need it to capture a room, but avoid extreme distortion.
The purpose of good property photography is to present the house attractively without misrepresenting it.
In many rooms, your phone’s standard 1x lens will give a much more natural result.
A slightly smaller but believable bedroom is better than a photograph that creates unrealistic expectations.
5. Photograph Every Bedroom
This is particularly important with student houses.
Students are not only choosing a property.
They are often choosing their individual room within that property.
If the advert says four bedrooms but only shows two, prospective tenants may wonder what is wrong with the missing rooms.
Photograph every bedroom.
Where possible, show:
- Bed
- Desk
- Chair
- Storage
- Window
- Floor space
A good photograph should allow someone to understand how the room actually works.
Study space is especially worth showing because bedrooms often double as workspaces throughout university.
6. Make the Kitchen Look Functional
The kitchen may be the most frequently shared room in a student house.
Do not photograph only the attractive side.
Try to show enough of the room for students to understand what is provided.
Useful features to include might be:
- Fridge and freezer
- Hob
- Oven
- Microwave
- Dishwasher
- Washing machine
- Dryer
- Dining area
- Storage
If your property offers something particularly useful, make sure it appears somewhere in the gallery.
Students comparing houses are often comparing practical convenience rather than decorative finishes.
7. Show the Communal Space Properly
A living room can help a group imagine themselves sharing the house.
Remove unnecessary clutter and arrange the furniture naturally.
You do not need elaborate staging.
A sofa, coffee table, tidy television area and a little colour are usually enough.
The objective is not to create an interior-design photograph.
It is to communicate:
“There is somewhere comfortable for everyone to spend time together.”
This matters because a strong communal space can distinguish one shared property from another.
8. Do Not Ignore Bathrooms
Landlords occasionally give bathrooms one rushed photograph.
Students notice them.
Make sure the bathroom is:
- Completely clean
- Free from personal toiletries
- Dry around the shower or bath
- Free from visible mould
- Well lit
- Photographed with the toilet lid down
If there is a particularly good shower, modern bathroom, heated towel rail or useful storage, show it.
Bathrooms do not need to look luxurious.
They need to look clean and maintained.
9. Photograph the Features Students Actually Care About
Think beyond rooms.
If your property has useful features, photograph them.
That could include:
- Large desks
- Fast broadband equipment
- Ethernet points
- Secure bicycle storage
- Garden
- Patio
- Off-road parking
- Dishwasher
- Washer-dryer
- Large fridge-freezer
- Modern boiler controls
- Plenty of kitchen storage
For example, existing House4Students listings highlight practical features such as broadband, Wi-Fi infrastructure, storage, appliances and gardens because these details help students understand what living in the property will actually be like.
The strongest photographs are not necessarily the prettiest.
They are the ones that answer prospective tenants’ questions.
10. Include a Good Exterior Photograph
Do not forget the front of the house.
Choose an angle that clearly shows the property.
Before photographing:
- Move bins where practical
- Remove temporary rubbish
- Tidy the front garden
- Sweep pathways
- Avoid having vehicles block the entire house
Try to shoot when the front elevation is well lit.
If the rear garden is a genuine selling point, include that too.
A clean outdoor space can make a student house feel more complete.
11. Choose Your First Photograph Carefully
Not all photographs deserve equal prominence.
Your first image is effectively your advert’s thumbnail.
It needs to stop someone scrolling.
Depending on the property, that might be:
- A bright living room
- A modern kitchen
- The best bedroom
- An attractive exterior
- A particularly impressive communal space
Avoid leading with a hallway, bathroom, staircase or photograph dominated by furniture.
The first photograph should communicate one strong reason to look at the rest.
This matters because presentation is one of several factors that can separate properties that secure enquiries quickly from those that remain available. Our guide to why some student houses let in 48 hours while others sit empty explores this in more detail.
12. Put the Photographs in a Logical Order
Imagine you are giving someone a virtual viewing.
A simple sequence might be:
- Best hero image
- Living room
- Kitchen
- Bedroom one
- Bedroom two
- Bedroom three
- Bedroom four
- Bathroom
- Garden
- Exterior
- Extra features
There is no universal rule, but avoid jumping randomly between rooms.
The gallery should help prospective tenants mentally understand the house.
13. Avoid Photographing Tenants’ Personal Information
If the property is occupied, photography needs more care.
Do not accidentally publish:
- Letters
- University documents
- Bank statements
- Photographs
- Prescription information
- Computer screens
- Identification documents
- Personal notices
It is usually much easier to arrange property marketing photography between tenancies.
Where a property is occupied, respect the tenants’ right to live in the property undisturbed and agree access appropriately rather than treating a marketing photography session as an informal drop-in. Government guidance confirms tenants’ rights to live undisturbed and sets specific access expectations for legitimate inspection and repair visits.
14. Do Not Edit Away Problems
Basic adjustments to brightness, shadows and colour can improve a photograph.
Removing a stain from a carpet digitally is different.
Do not edit photographs in a way that makes the property materially different from reality.
The same applies to:
- Removing damage
- Changing furniture
- Making rooms appear larger
- Replacing views from windows
- Digitally hiding damp or mould
Good marketing should make the property look its best.
It should not create a property that does not exist.
15. Update Your Photographs After Improvements
One surprisingly common mistake is continuing to advertise a refurbished property using photographs taken before the refurbishment.
If you install:
- New flooring
- New furniture
- Fresh decoration
- New bathroom
- New kitchen
- Better garden
- Improved study furniture
take new photographs.
Your marketing assets should represent the property you are actually offering.
Otherwise, you may be spending money improving the house while continuing to advertise the old version.
Consider Adding Video and Virtual Tours
Photography remains essential, but it does not have to work alone.
Video walkthroughs and virtual tours can help prospective tenants understand room sizes, layout and how different areas connect.
House4Students already supports property searches alongside virtual and video-tour functionality, helping students explore suitable accommodation before arranging a physical viewing.
This can be particularly useful when students are searching from another city or overseas.
The Five-Minute Photography Checklist
Before publishing your listing, check:
Is every room clean?
Are the photographs bright?
Are the walls and doors straight?
Have you photographed every bedroom?
Can students see the desk and storage?
Are the kitchen appliances visible?
Have you shown the communal areas?
Does the first photograph make someone want to see more?
Are the photographs accurate?
Do they reflect the property’s current condition?
If the answer is yes to all ten, your photography is probably doing its job.
Final Thoughts
You do not need an expensive camera to produce effective student property photographs.
You need good light, a clean property, sensible composition and an understanding of what prospective tenants want to see.
Most students are not expecting a show home.
They want evidence that the house is clean, comfortable, practical and somewhere they could genuinely live.
Strong student house photography helps them reach that conclusion before they have even booked a viewing.
And when students are comparing several otherwise similar houses online, that stronger first impression can be the difference between another scroll and a new enquiry.
Looking for student accommodation or advertising a property? Browse the latest House4Students houses and rooms and connect students with suitable homes in Reading and beyond.